Learn To Draw Lattice Screen Designs Like a Delhi Master
Decorative and functional, lattice screens have been produced in countless geometric forms across Islamic lands over centuries. In New Delhi one such screen, there called a jaali, offers mesmerizing interplays of 6- and 12-sided figures. Originally crafted in the 16th century, it can be drawn today by following our step-by-step guide.
Decorative and functional lattice screens have been produced by artisans throughout the Islamic world in a wide variety of styles. In India these are known locally as jaalis, a term that comes from an early Hindi word for “net.”
India’s extreme climate, with its intense sun and heat, prompted the development of various styles of jaalis across the subcontinent through the centuries. They have been constructed in a range of media, including stone and plaster, in which inventive symmetries and distinct geometric devices proliferate.
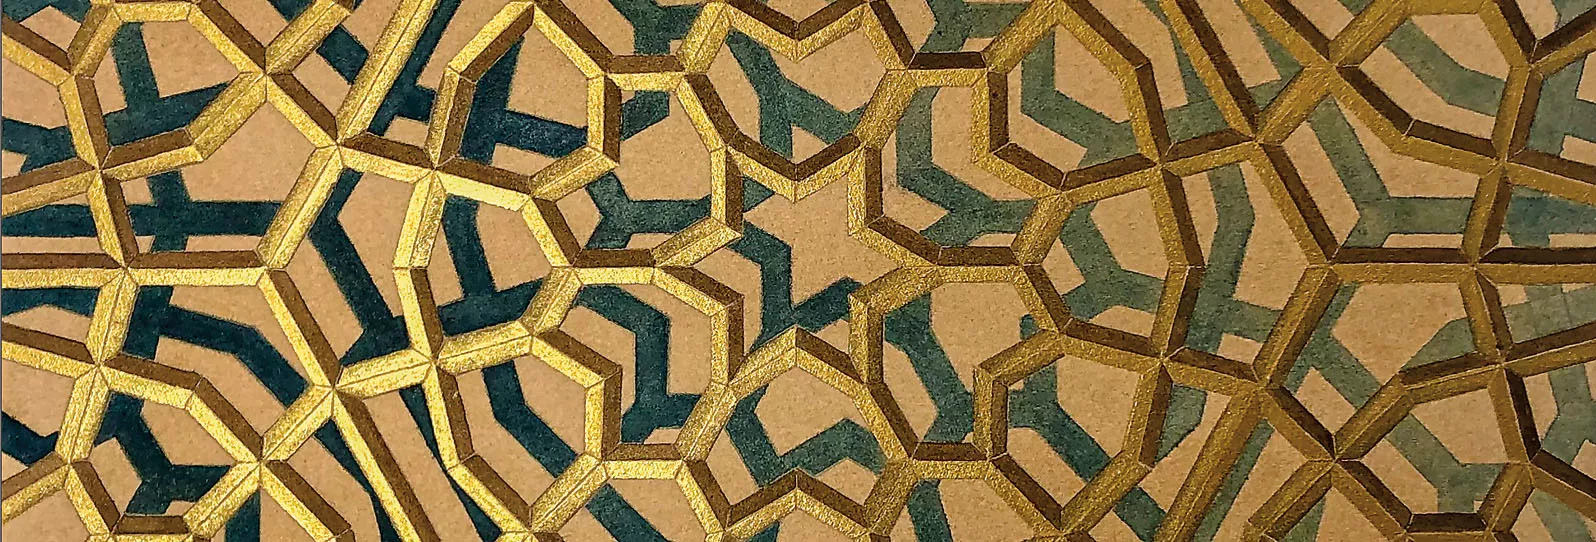
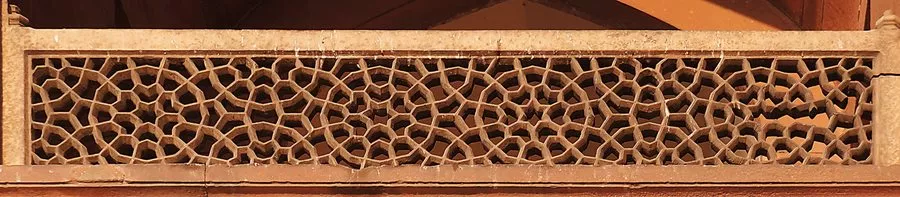
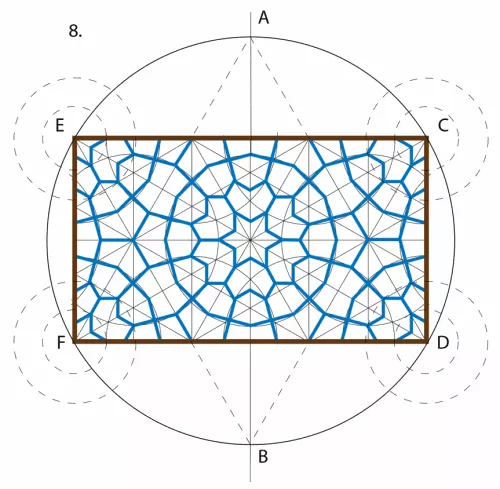
For this third installment in the Art of Islamic Patterns series, we turn to Delhi, where the Isa Khan enclosure sits within the gardens of the funerary complex of Mughal Emperor Nasiruddin Humayun. It is named after Isa Khan Niazi, a nobleman in the courts of Humayun’s successors Sher Shah Shuri and Islam Shah Suri. The building was constructed in 1547-1548 CE with an octagonal layout characteristic of the style known as Lodhi. Alongside a balcony within its enclosure, an extraordinary, balustrade-height jaali of red sandstone displays a delicate, 12-fold radial design. Looking closely it shows beautiful interplay of 6- and 12-pointed stars as well as a subtle vibration that was created by overlapping figures that, although they might first appear to be circles, turn out to be 12-sided figures, or dodecagons.
This harmonic rectangle has been used elsewhere, too: for example in the ground plans of the Merenid Bou Inaniya Madrasa in Fez, Morocco, and as a framing device within the illuminated pages of masterpiece Mamluk Qur’ans as well as, more generally throughout the Islamic world, a way to produce modular repeating units on geometric surface designs.
The photo below shows the module repeated four times, and the instructions that follow will guide you in the construction of one.
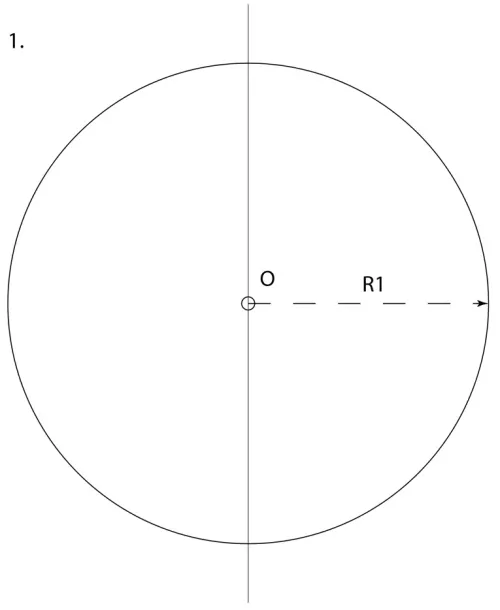
1. Start from a vertical line, set compass radius to R1, approximately ⅓ width of the page. Draw a circle in the middle of the line.
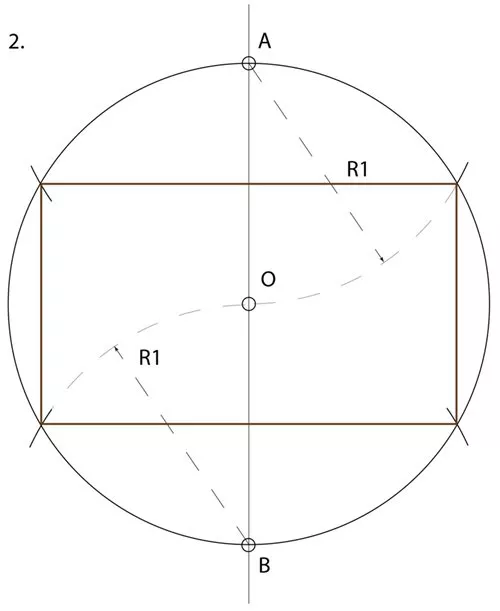
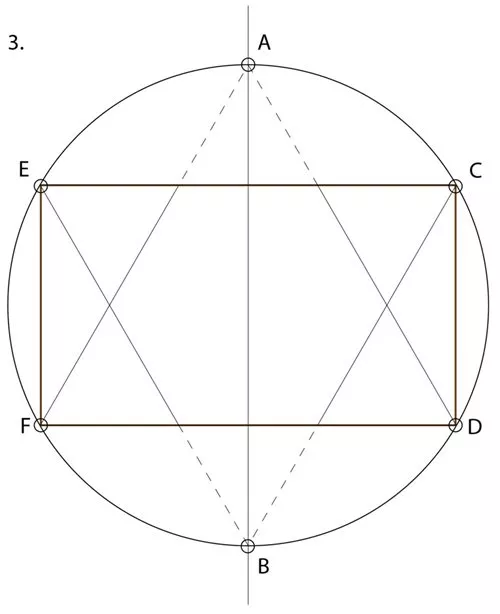
2. Without changing the compass radius, and with the compass needle anchored at point A then point B, make 4 additional divisions of the circle. This will create our “harmonic” proportioning rectangle with the special ratio of 1:√3. This will form the fundamental repeat module for our design.
3. Link diagonal guidelines across our figure: A – F & D, B – E & C. Outside of the rectangle ECDF, these lines can be very light broken lines.
4. Add additional radial and diagonal lines, still as light guidelines.

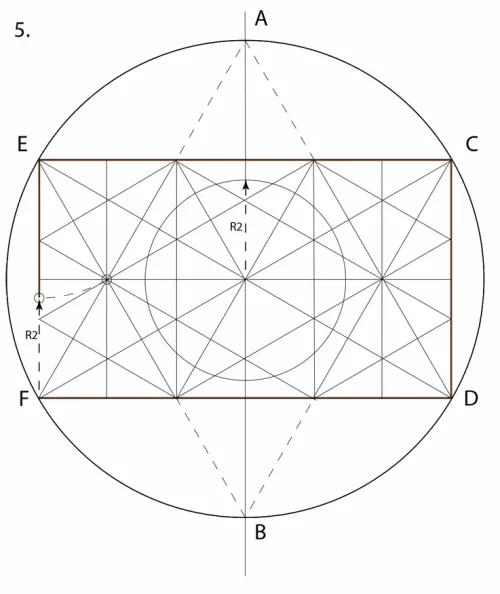
5. Measure the distance of segment E-X. Then swing that arc to meet the line E-F at X1. Now measure a new compass radius R2 on the vertical line from F to X1. This will provide the radius of the key proportioning circles, which will contain the overlapping dodecagons in our final design.
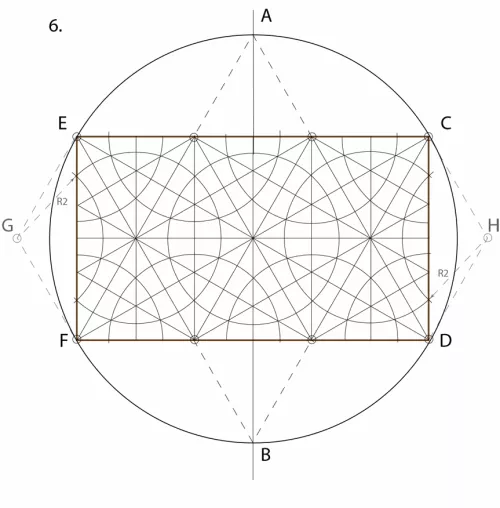
6. Arrange the proportioning circles with radius R2 evenly as above across our rectangular module. Note that two centers of the proportioning circle, G and H, are outside of the frame of our rectangular module.
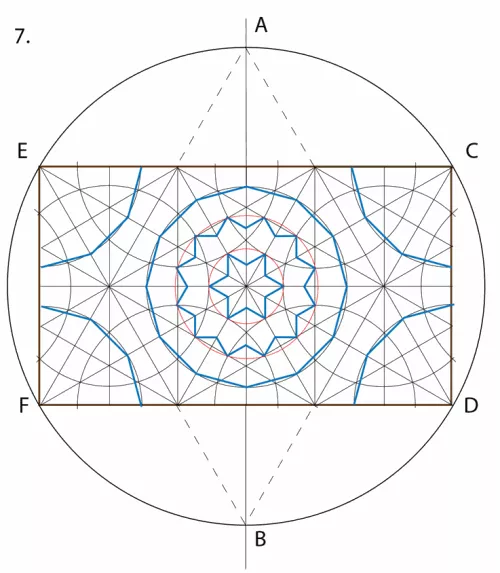
7. First lightly outline the 6- and 12-pointed star motifs in the center, as above. Then, with a bolder line, or colored pencil, start to outline the overlapping dodecagons and quarter dodecagons.
8. Note how additional proportioning circles centred at E, C, D and F enable us to establish the quarter stars nestled in the 4 corners of the rectangular repeat module. To complete the design, mark bold division with the larger gaps. The design can now be completed with shading, tone and colour to emphasise the interrelationship of different shapes and bring the design to life. Guidelines can be left as part of the final design or erased according to individual preference.
You may also be interested in...
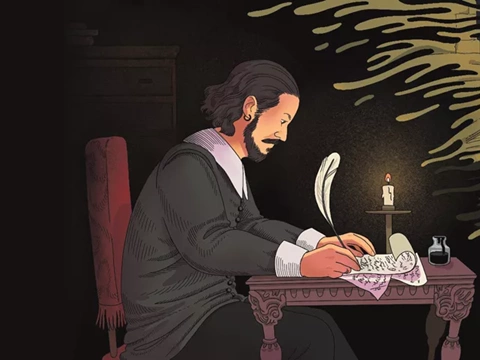
Stratford to Jordan: Shakespeare’s Echoes of the Arab World
Arts
History
Shakespeare’s works are woven into the cultural fabric of the Arab world, but so, too, were his plays shaped in part by Islamic storytelling traditions and political realities of his day.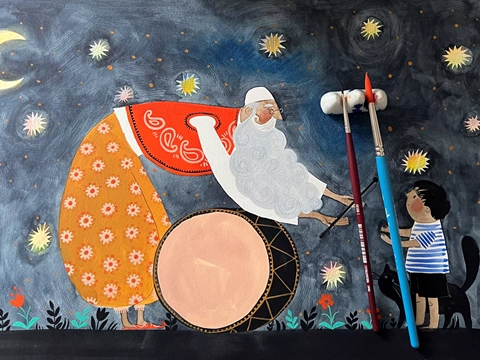
What It Takes to Feel Ramadan Again
Arts
Creative minds rebuild Ramadan traditions through deliberate acts of memory and care.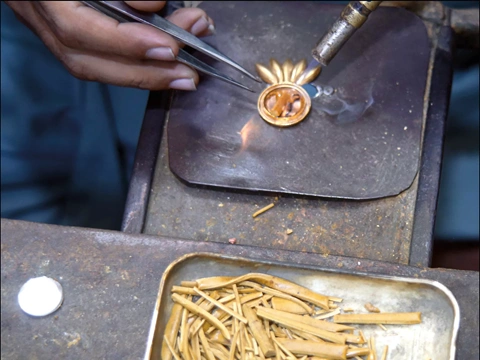
Sisters Behind HUR Jewelry Aim To Honor Pakistani Traditions
Arts
Culture
What began with a handmade pair of earrings exchanged between sisters in 2017 has evolved into a jewelry brand with pieces worn in more than 50 countries.